Inspired by Mummies
How can any monster-loving child resist learning about mummies? Mummies are scary. They chase a van-riding band of sleuths with a funny dog. They are mysterious. And best of all, they exist in the REAL world! Sure, they won’t run after you with their linen-wrapped arms high above their heads, but that doesn’t make them any less fascinating when seen in person. And for educators, mummies are a goldmine. They provide a wealth of opportunities for learning: from the science behind the process of mummification, to the history and culture of an ancient civilization. In a word, mummies are just plain COOL.
Our exploration of mummies began with a simple question: Are mummies in real world?
And the answer, to G’s delight, is YES, and here are just four of the ways we followed our curiosity:
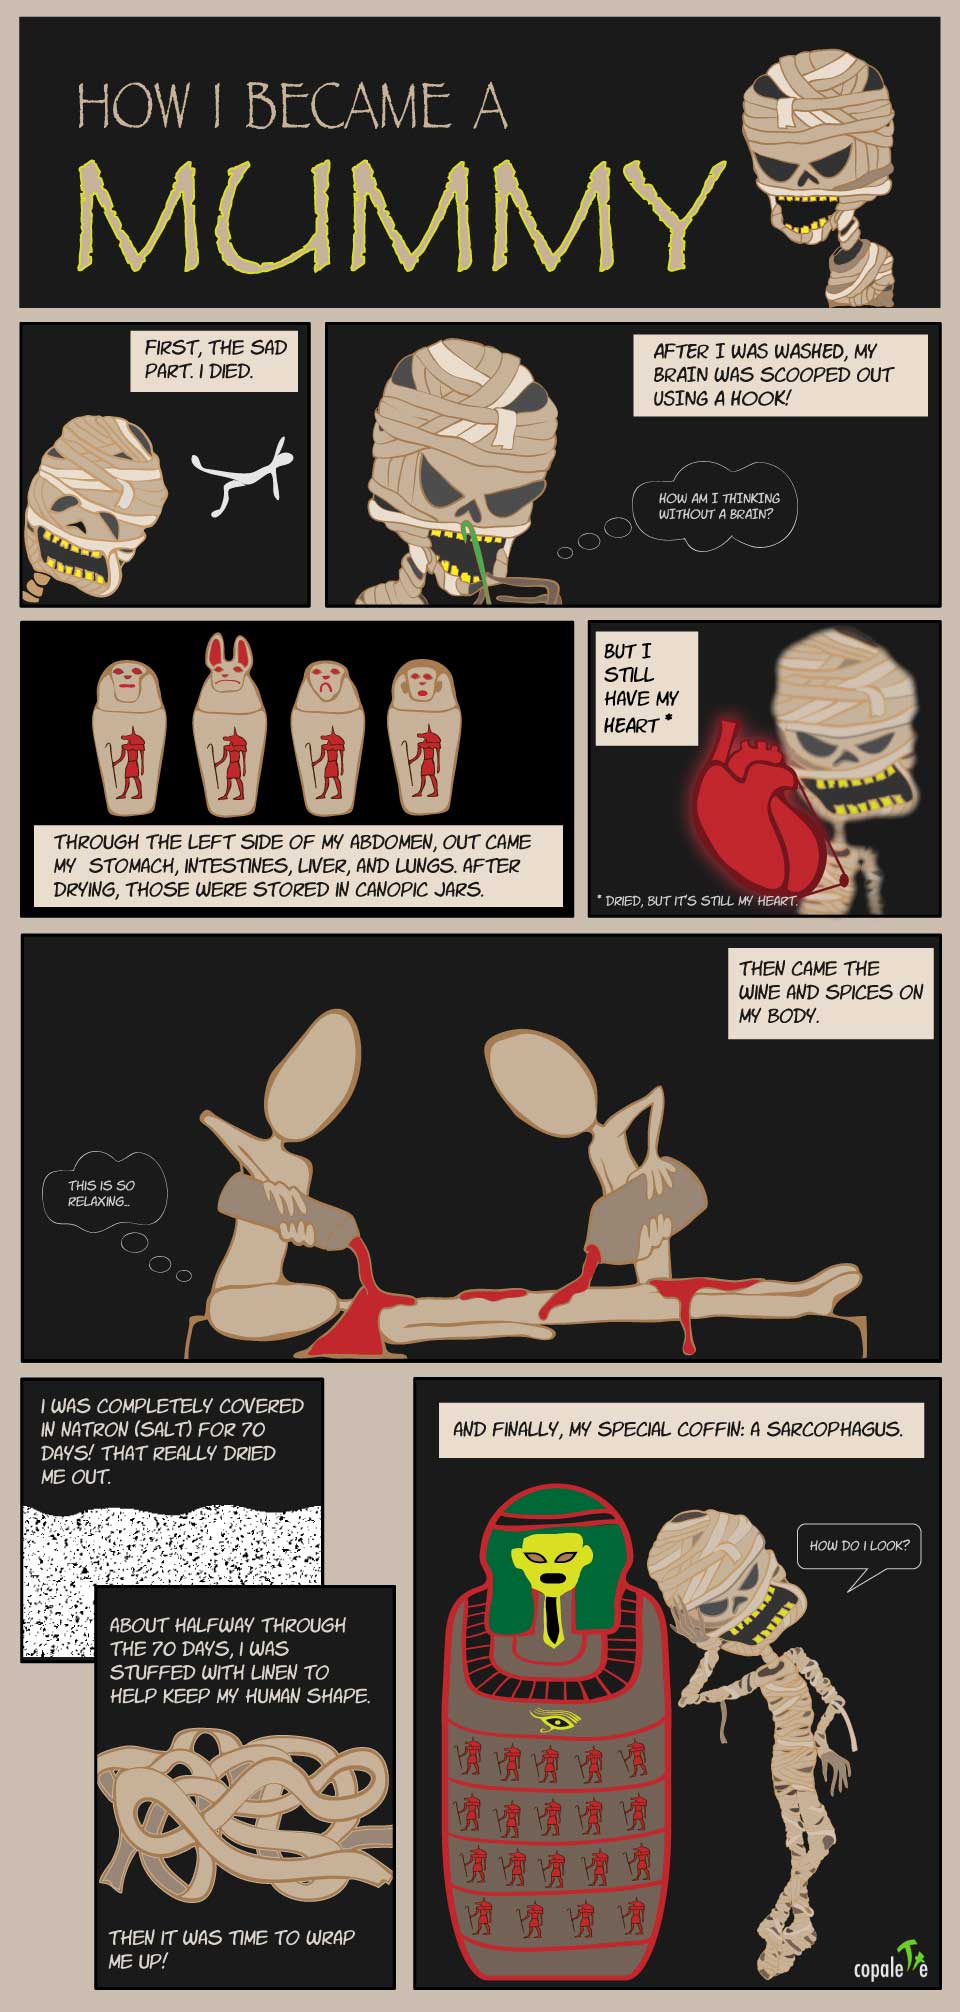
- Via an illustration | How I Became A Mummy: Mummification Process for Kids
- Via an experiment | Make Your Own Mummy: A Mummification Science Experiment
- By drawing
- By visiting museums to see real mummies
How I Became A Mummy

There are some details that I left out of this illustration, keeping only enough information to get the process across. There are, however, a lot of interesting details that we discussed while going through this, like: Why keep the heart? Who performs the mummification? What are they symbols on the coffins? What’s with the jars with internal organs? Are there only human mummies? Why mummify in the first place?!
Many great resources are available online to help answer these questions:
History.com: How to Make a Mummy (video)
Discovery Kids: Mummy Maker (game)
National Geographic: Animal Mummies
MyLearning.org: A Step by Step Guide to Egyptian Mummification
Make Your Own Mummy
Palette: ![]()
- Salt
- Baking Soda
- 2 clear plastic cups
- half an apple (cut to make 2 quarter pieces)
- knife and cutting board (for the copalette to cut the apple into quarters)
- sharpie (optional)
- kitchen scale (optional)

And here are the steps we took:
1. Weigh each of the two quarters, and note their weights on the cups.
Side note: We’re still working on writing our 4’s the correct way :).


2. Mix enough salt and baking soda to cover one of the apple quarters.
We used about 2 parts salt to 1 part baking soda. We ended up with about 85 grams of salt and over 40 grams of baking soda.


3. Completely cover one of the apple quarters in “natron” (salt/baking soda).
We left the other apple quarter as is, i.e. no natron.

4. Leave the cups out for about a week, out of direct sunlight.

5. Finally, compare the two apple quarters.
We noted the changes in appearance, weight and smell! Then we considered what other food items we could mummify next. Hotdogs!
Draw Mummies
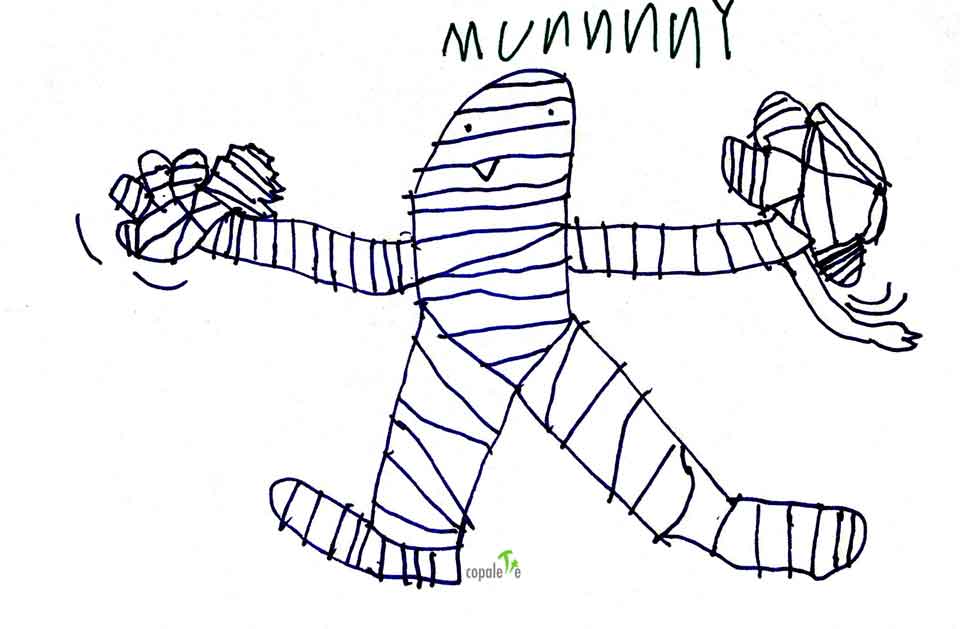
Personally, I do not enjoy drawing mummies. They are too difficult! But since my little G likes them, I have found myself drawing several of them, and not just the ones for the illustrated guide above.Here is one of G’s drawings:

and one we drew together.


